
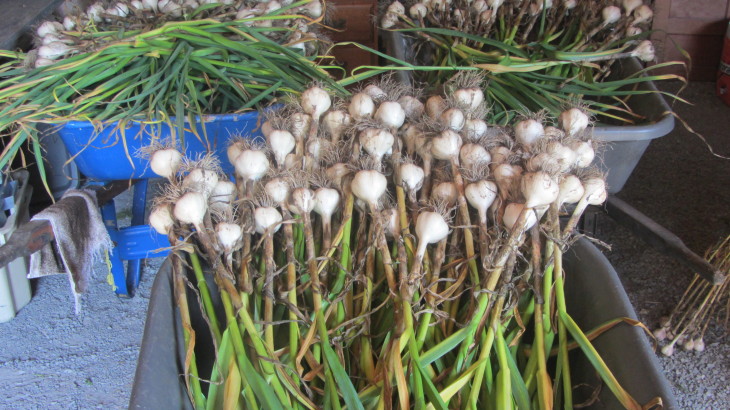
Today we will begin harvesting the three varieties of garlic grown at littleGrasse. We will distribute 20 bulbs to each Fresh share and 60 bulbs to each Year Round share. What will you do with that much garlic?! Hopefully cure it for eating enjoyment throughout the rest of the year. The curing process is simple. The aim is reduce the moisture content of the outer layers, to effectively protect the inner cloves. At the farm we will clean and keep planting stock for the fall as well as what will be distributed later in the season to the Fresh, Fall and Fall, Storage shares.

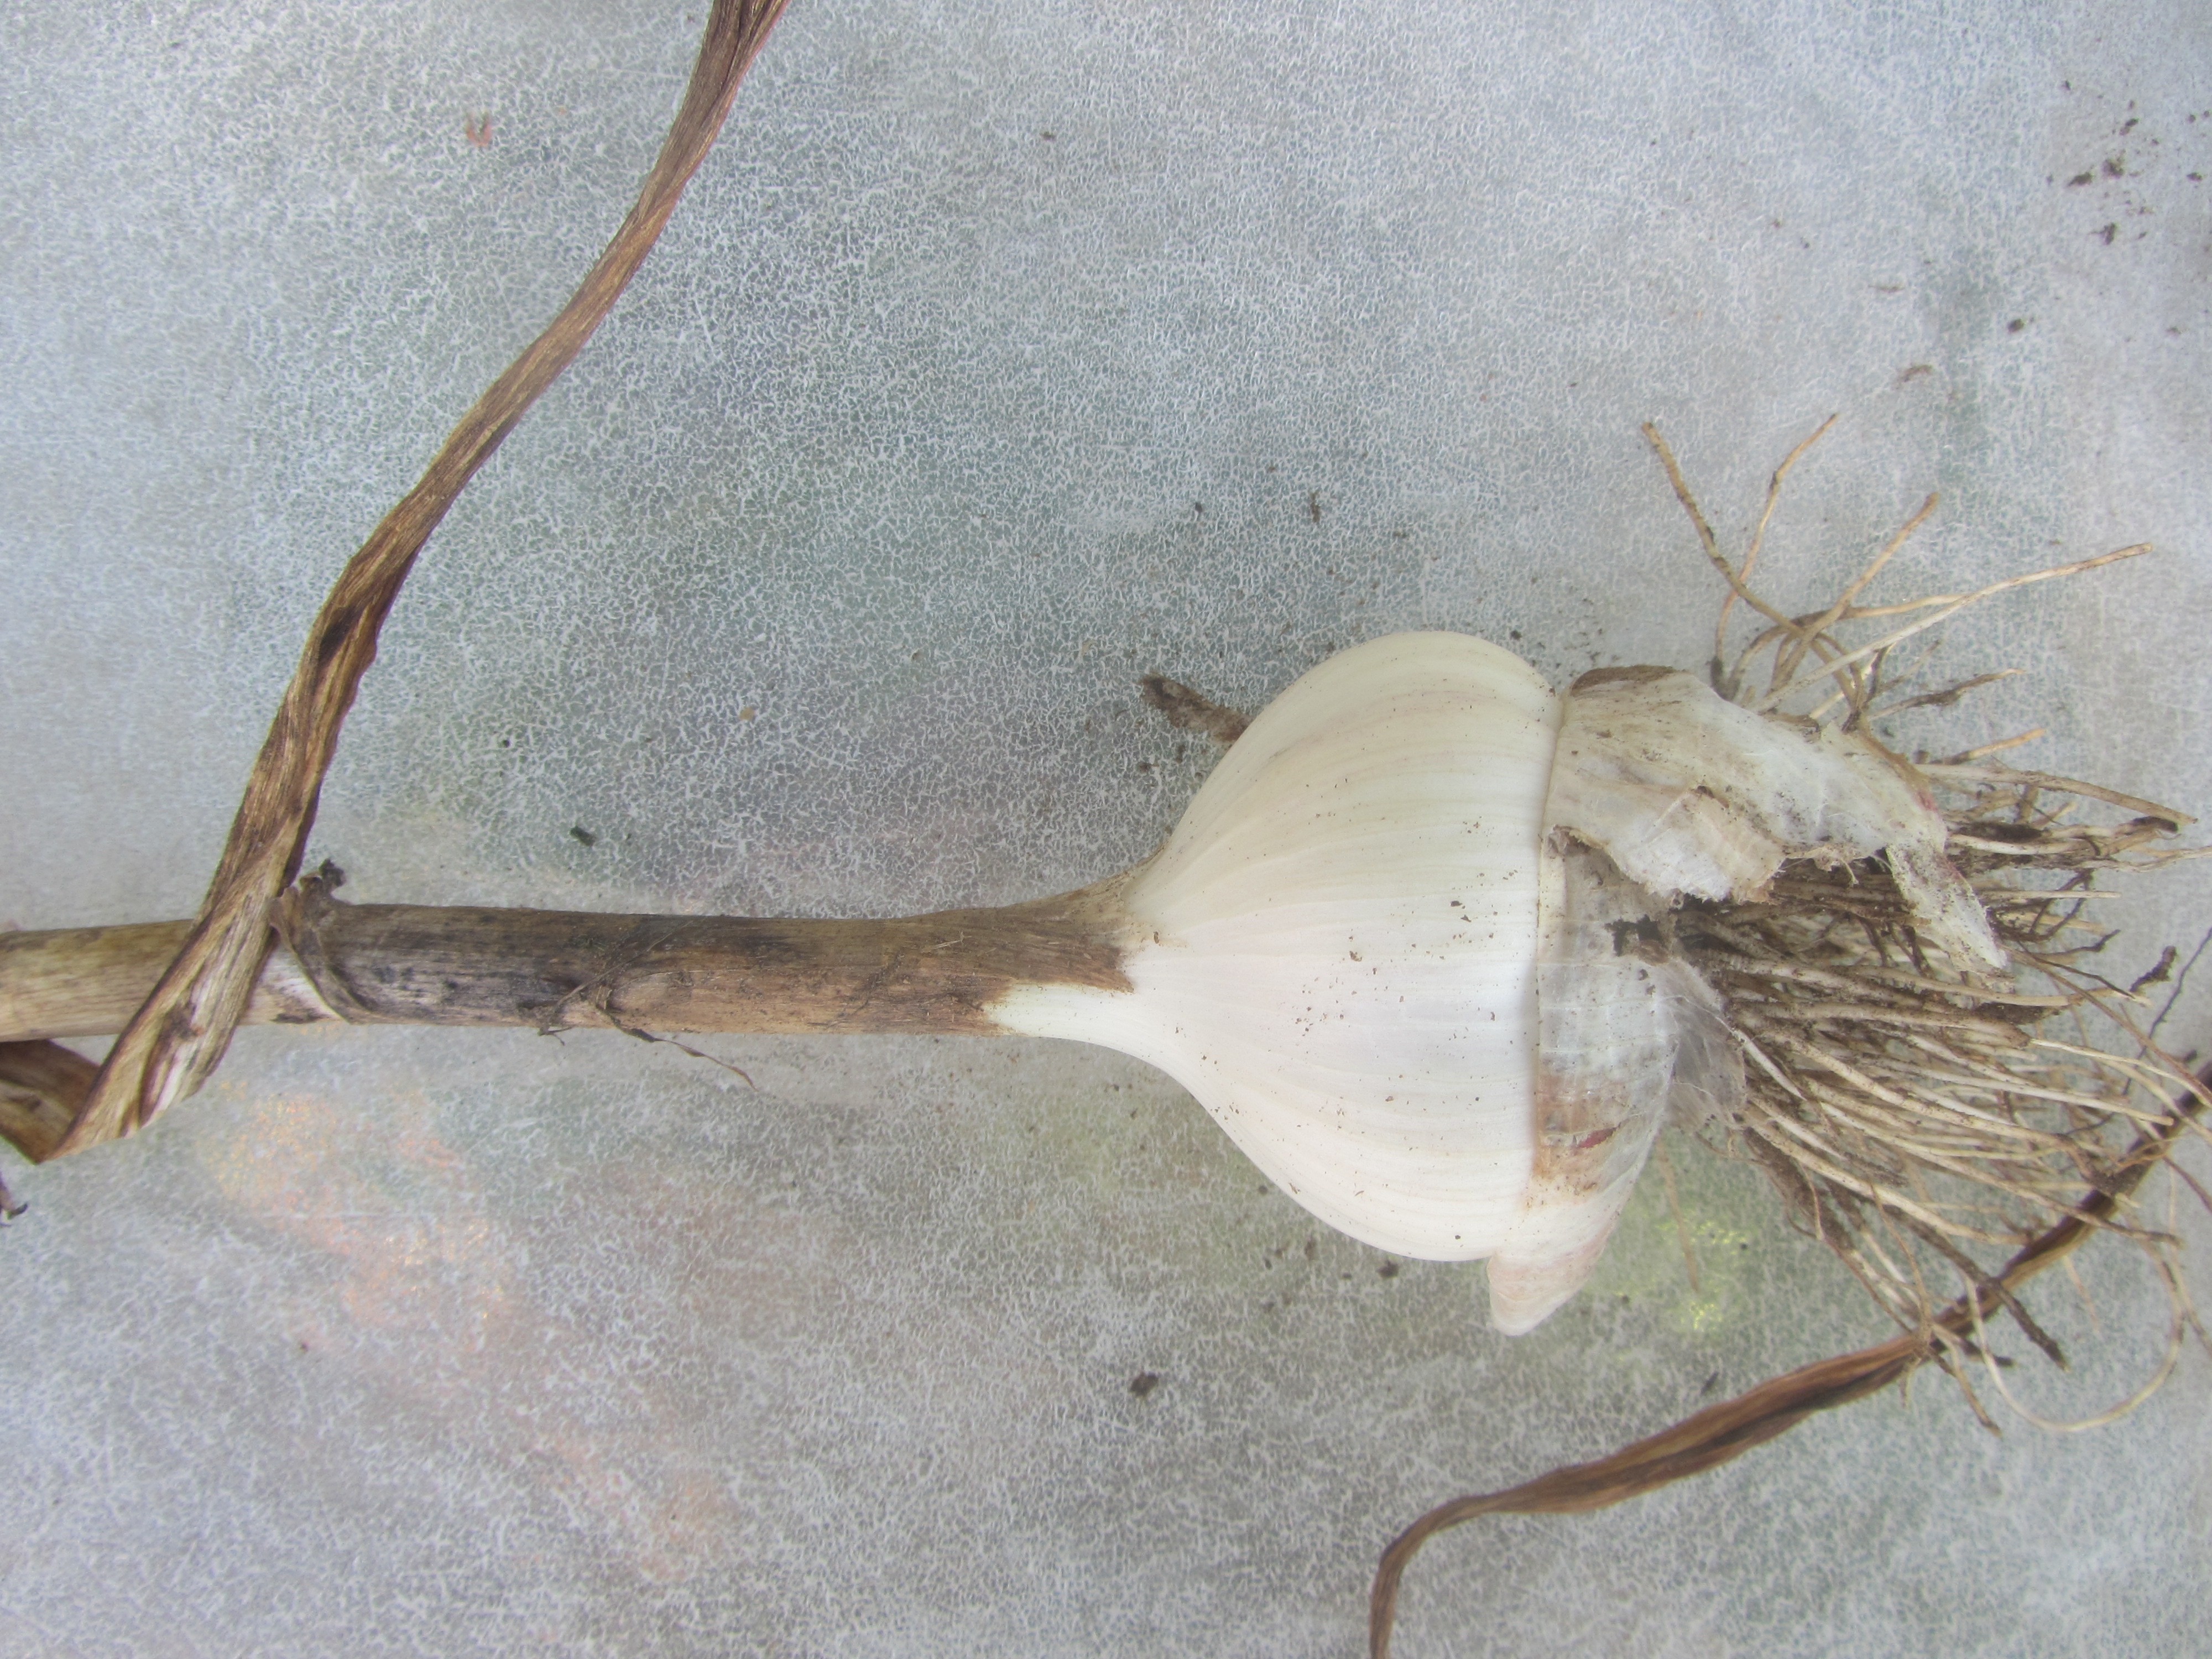
1. Remove bulk of soil from bulb. This can be done be wiping the bulb with a cloth or by peeling the outermost layer from the bulb which removes the soil as well. We prefer to wipe it clean and keep as many protective layers on as we can. If a layer comes loose while wiping, that’s okay too.
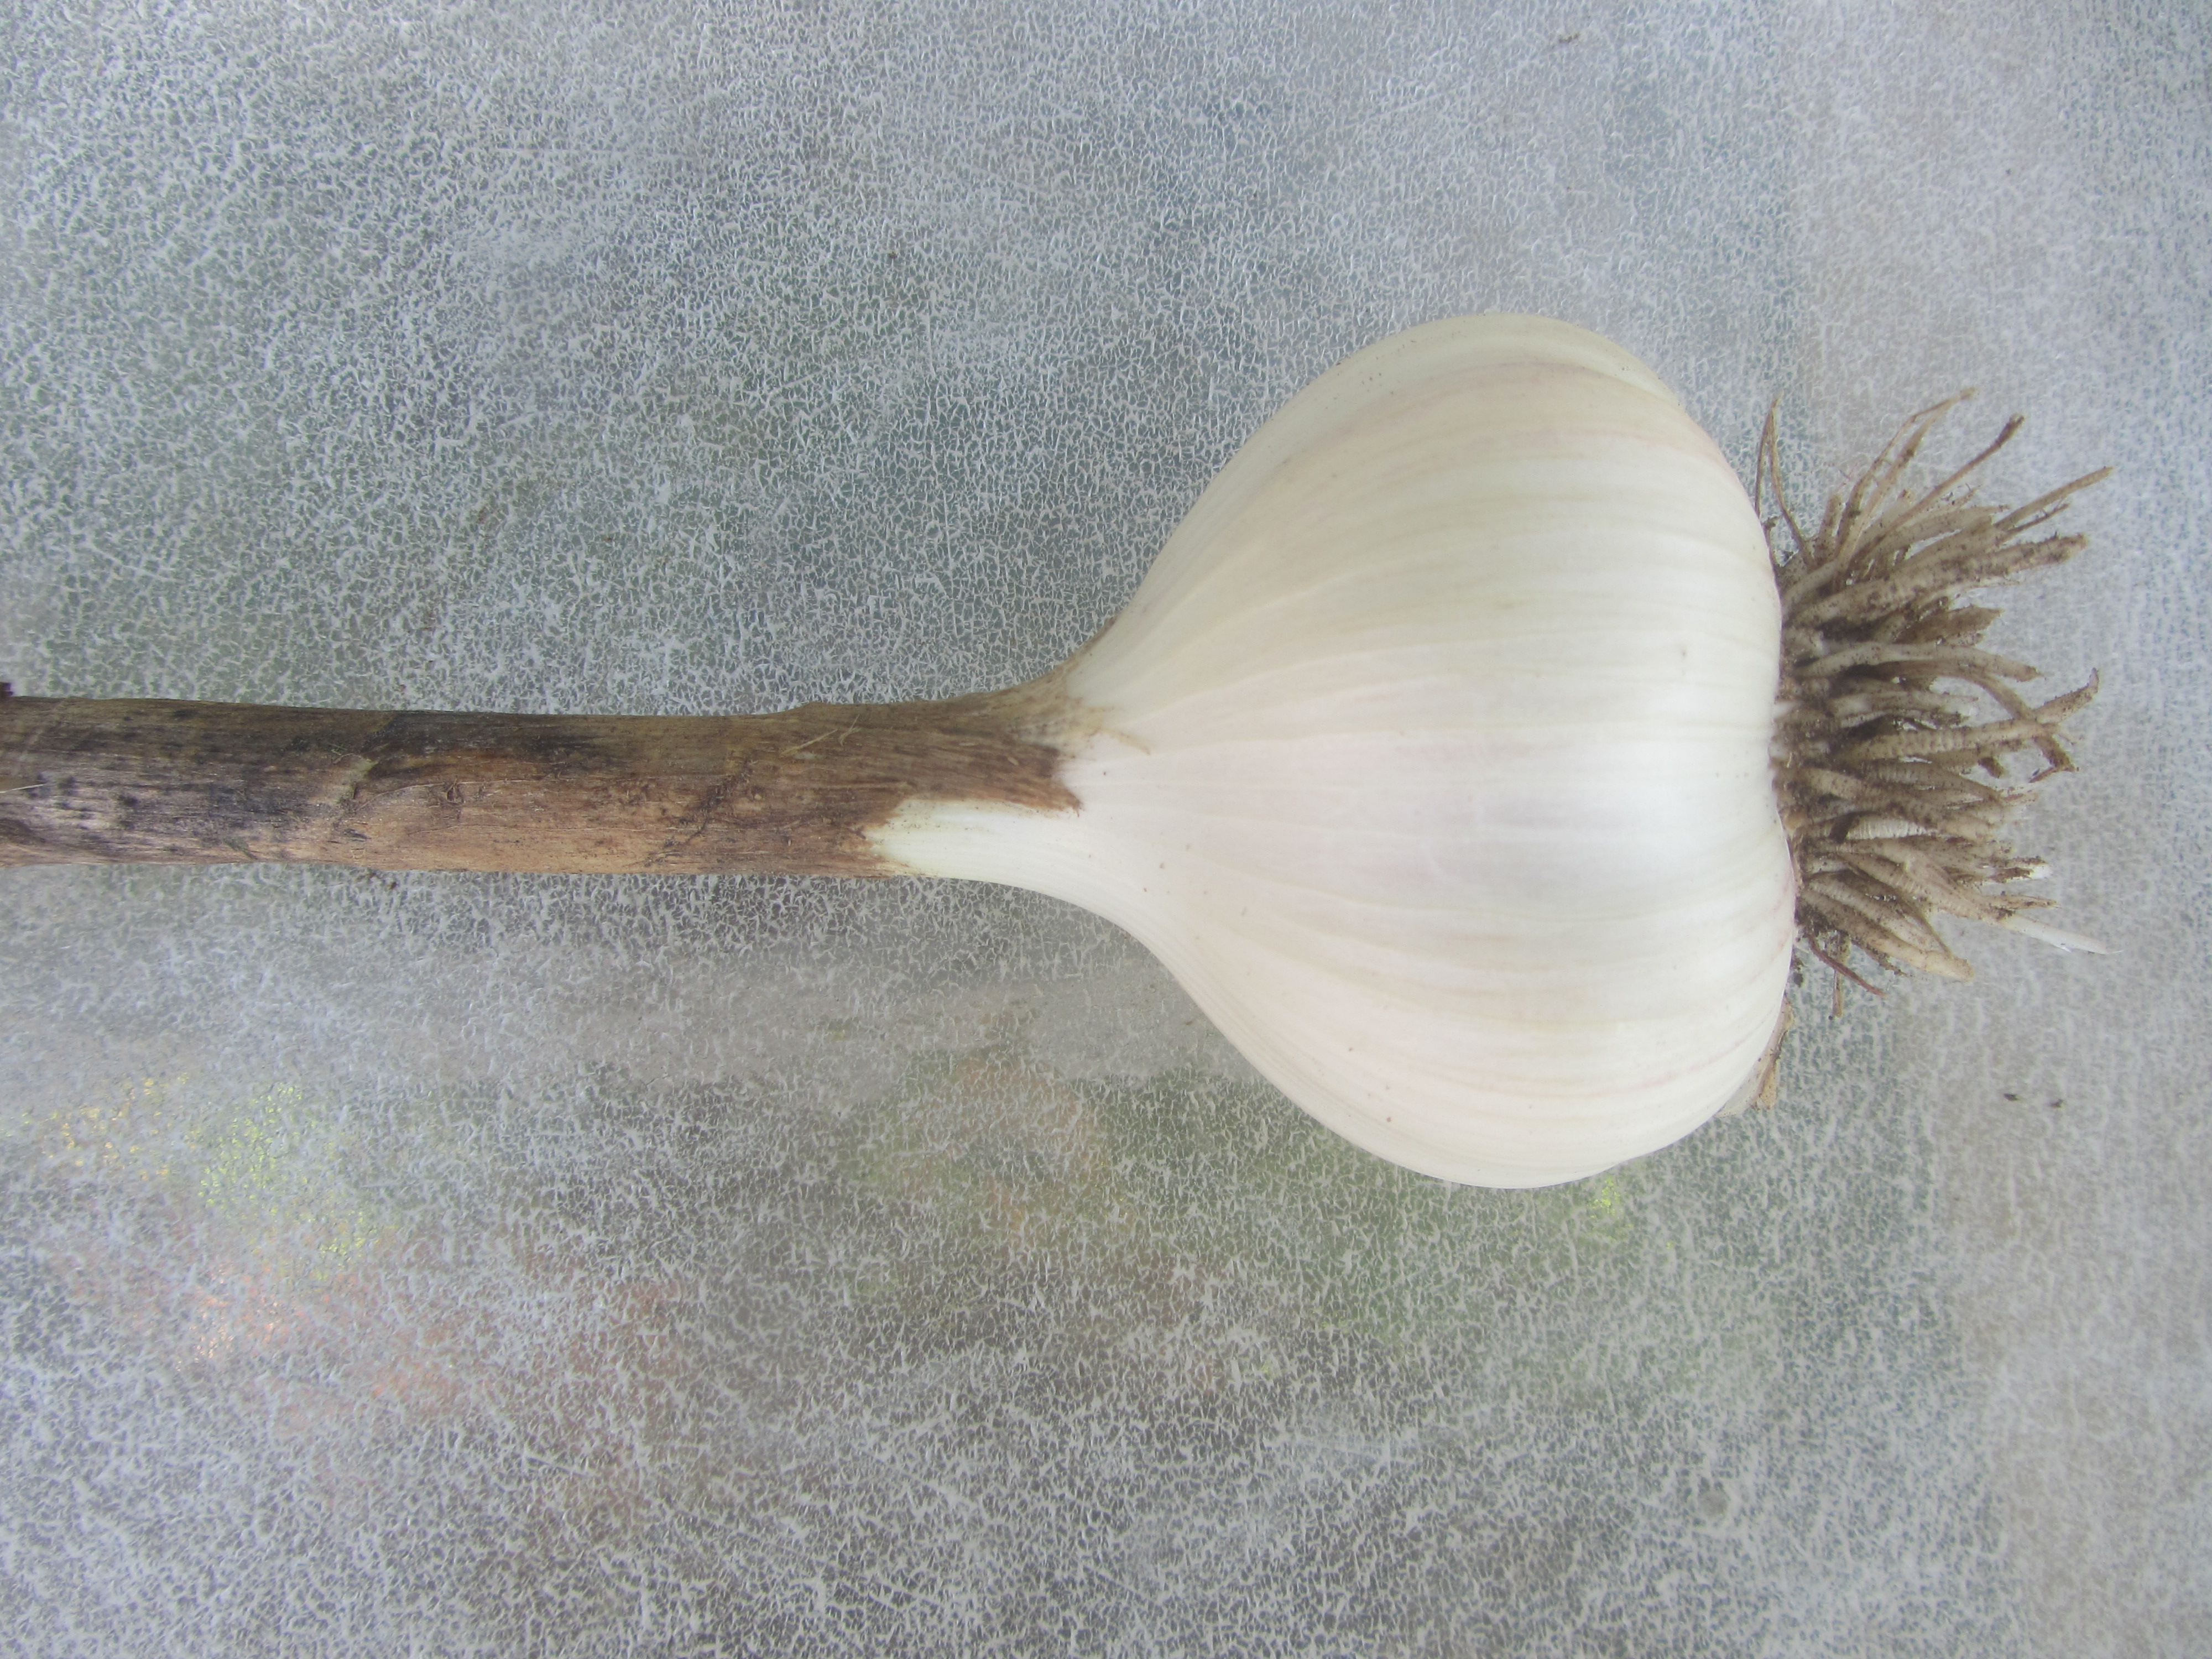
2. Clipping the roots. This is actually optional. While it looks cleaner, many say that retaining the roots allows the roots to help wick excess moisture from the layers around the bulb during the curing process. The roots shrivel and reduce in size, so they are less obvious after curing. You could also clip afterwards.
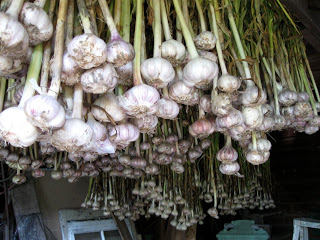
3. Hanging or laying out the bulbs to cure. This can be done in any warm spot 60-85 degrees, out of direct sunlight. Lower humidity is better than a sticky moist place. We tie two bunches of 10 together. Then hang them in the tool bay strung over a nail.
4. After 2-3 weeks, cut the tops from each plant. Now the garlic is ready to keep in a room temperature space out of direct sunlight.

Let us know if you have any questions. There is no one right way to do it. Just get them drying for a couple weeks. You want to avoid doing things that would encourage mold growth, like leaving them in a plastic bag or out in the rain and direct sun.